Outdoor Living Week: DIY Build a Deck
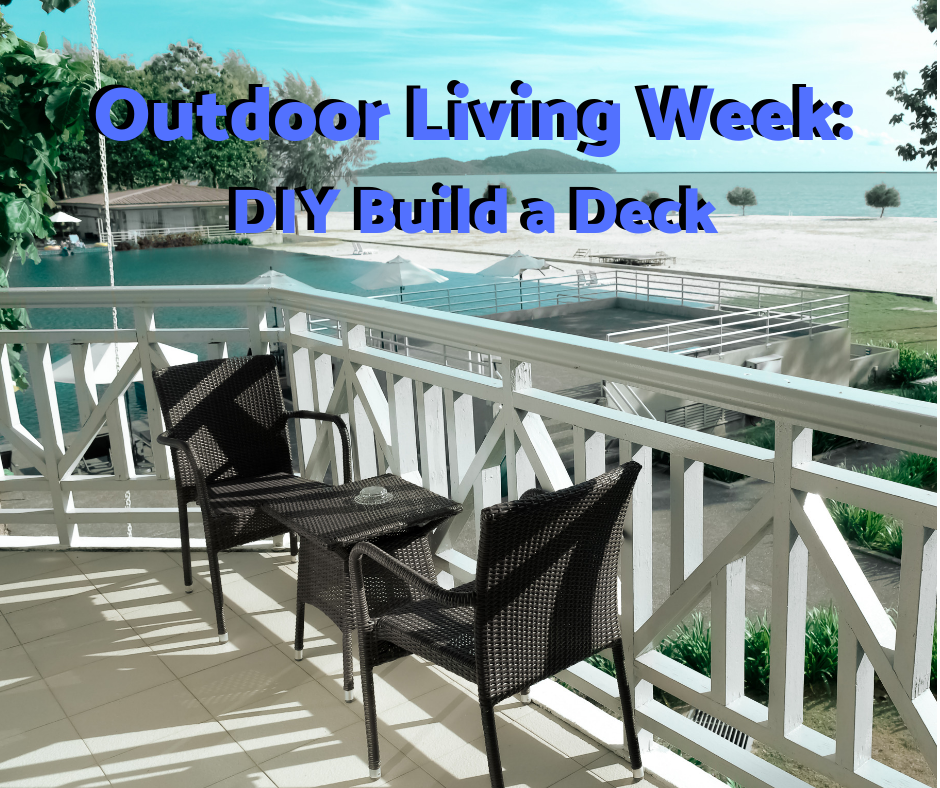
Outdoor Living Week: DIY Build a Deck
This week is Outdoor Living Week and I’ve shown you some great house plans that give you a wonderful space and some great grilling gadgets. But what if you aren’t in the market for a new house and you don’t have a nice place to grill? Well, we can fix that. Grab your tools and let’s build us a deck!
Building a deck is a relatively simple process. Basically, if you know how to use hand tools and a measuring tape, you can build just about anything. So, we’re going to walk through the basic process of building your own DIY deck.
Planning
The first stage in any project is sitting down to decide how large of a deck you need and where you are going to put it. You’ll need to measure the area and plan how tall and wide it’s going to be. Then, you can call up your local planning commission to make sure you don’t need a permit.
Most cities require a permit to do most projects. You’ll need to purchase one and have it ready before you get started with the job, otherwise your project may need to be torn down later. If you must have a permit, you are going to need to have the structure inspected.
We’re lucky. We live out in the middle of the boondocks in the county and we don’t have to have permits to do most things. That’s something to keep in mind. Where you are building your project will always have an affect on how you can build.
A deck will add value to your home, not just sentimentally. It will give your home greater curb appeal in case you decide you ever want to sell your home. So, make sure that you are putting your best foot forward with the planning and construction.

Footings and Ledgers
Once you have everything all planned out and you have your materials purchased, its time to install the “foundation" of your deck. Footings are concrete blocks that hold up the posts that support your structure. Ledgers are how the deck will be attached to your home.
Ledgers are usually 2 x 8 or 2 x 10 boards that are attached to the home with heavy duty bolts and brackets. This is very important to get right. If you install this incorrectly, you could have a deck that not only sags and runs the risk of being in bad shape later, but it could also damage your home and the foundation under your home.
Footings are important because they give your deck a solid base. You want to make sure that they are stable. You’ll need to dig down and make sure the bed of the base is level and you’ll want to put gravel down under the footing to make sure that water doesn’t cause any trouble. After that you backfill the dirt back around the footing.

Posts and Frame
The next step is to put the posts and frames into place. You’ll want to use sturdy posts and nice straight boards for this. It’s kind of like building a big box on a frame. And because it’s basically a big box, you’ll want to make sure that it is square. So, measure diagonally from one corner to the other and make sure that the measurement is equal on each run.
Once you have the frame in place, you’ll want to connect it using large nails. Make sure that everything is nice and tight and built strong. This is a big project. You’ll want it to last! Connect the frame to the posts with brackets. This makes the deck stronger and lends more support. Or as my husband says, “A few extra nails never hurts."

Finishing the Frame
Once you have the frame, you can think about putting in the cross beams. Hopefully, you put in posts at even intervals throughout the area where the deck is going to be built so that you have a nice strong base to build your deck on.
These cross beams will need to be between 16 and 22 inches apart. That is standard building code. You will need to check with your planning board to see if they have any other requirements. Secure them to the frame using nails and brackets. This will give a nice place to build your “floor" for your new deck.
Decking
Now we get to the fun part. You know what the difference is between a floor and deck? The type of wood used at this point. In floors you would use OSB which comes in large flat sheets. In decks you use many 2 x 4s nailed down. Here comes the fun part.
Grab you something to stick in between the boards to measure the spacing between the boards. Our family always used one of the extra nails. This gave us a consistent space between the boards, and it was something that if we lost it, we weren’t heartbroken about it.
Place your first board at the edge of your deck. Nail it in place. Place the nails you are using to measure on the inside edge of the board. We tapped ours down just enough to hold it in place. Place your second board against the nails and secure it. Remove the nails you are using to measure and rinse and repeat until you are done.
For a finishing touch, you can run a board along the outside of the boards to give it a nice even look. We left ours looking kind of rustic, but it all depends on the look that you are going for.

Railings and Stairs
Your deck is going to need a railing. Something to keep the kids from running off it. Somewhere to hold your drink. Thankfully, most of the hardware stores make premade railing kits that will save you a ton of time and money. Just buy all the necessary parts, pop them together and secure them to the floor of your deck.
Likewise, stairs are a bit important. These come in kits now too. All you must do is measure and cut them to the desired height and pop some boards down. Make sure they are good and secure so that they don’t bow and buckle as time goes on.
You can build both items yourself. There are plenty of tutorials on the web that can show you how to go about this.
