Build a Home, Buy a Home: Remodel Nightmares, The Kitchen

Build a Home, Buy a Home: Remodel Nightmares, The Kitchen
Published at October 30 2025 by Mal
Somehow, while being deeply involved with house plans, custom homes, and major/minor modifications, my partner and I decided buying an old family home and managing our remodel was the right choice for our first forays into homeownership. I can say it is a far greater task (and stress and expense) than either of us were prepared for.
This home has been in his family since the 60s. Handcrafted to a very specific vision of what his great-grandparents needed to support a large family. Every little detail designed to their idea of a Dream Home.
So anyway, we're ripping it to shreds.

Where To Start?
Sitting down with a plan (ha) and a budget (HA) was our first step. From our extensive walk-throughs, we knew the main bath was one of the biggest projects. And the carpet in the kitchen if you can believe someone willingly did that to their home. Once we started making a list of things that needed update, repair, or general removal, it was clear we had a full home improvement book on our wildly inexperienced hands. Amidst a sea of projects, we were able to lump things into the Big Jobs: knocking out the living room wall to make an open floor plan, full renovation of the main bath (and adding a half bath), refinishing the hardwood floors, and adding French doors to lead to a deck. Simple, right? Swing a hammer. Tear up a floor. Pick out pretty paint colors. God help us.
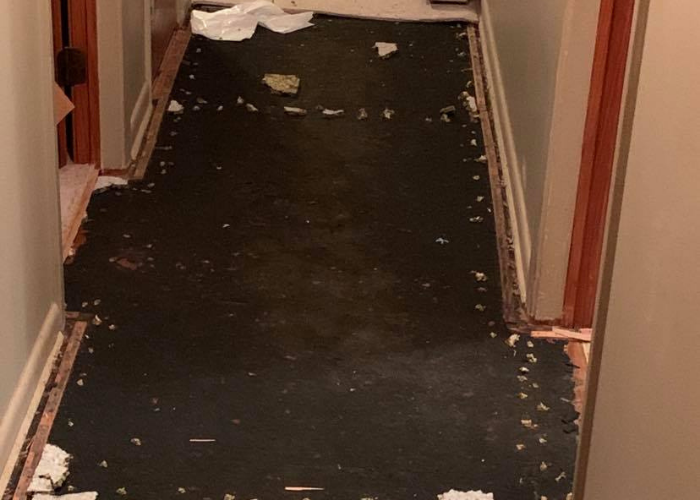
As we rip the carpet up from the kitchen and hardwood floors, spending hours taking up carpet nails and scraping glue, we come across some details that seemed so charming at the time. I mean, the kitchen cabinets are built right into the walls! I do mean RIGHT into the walls. We strained for days to get the last bits of carpet from underneath the dishwasher without accidentally tearing up the cabinets framed around it. All of this was just to get things prepped for our handyman to do the heavy-lifting. Yes, all of this BEFORE the real work starts.
DIY or Hired Help
If you've never hired a handyman to do some chunky work in your home before, it is an ordeal. There are quotes to get. Projects to line out. Materials needed. Most of this needs to be done in person to ensure you and your handyman are on the same page for what you need done. Our work schedules allow some flexibility, but we still needed family to meet with our prospective professionals occasionally. We asked around and talked to several people before settling on our (first) handyman. We chose to be involved to cut back on labor costs and finish the project sooner. I'm sure many contractors and handyman are cringing at that, but we have a budget to stick with! Lofty completion goals!
This first mistake of many has taught a very valuable lesson. You truly do get what you pay for. While a cheaper price may be alluring and hard to pass on, ask for references. Ask for pictures. Ask for a thorough breakdown of costs. Does this quote include all labor? Is this quote including a budget for fixtures and materials? A litany of questions we should have asked and didn't out of ignorance. After a week's worth of knocking down living room walls and tearing out bathtubs, we realize our quote is horribly overblown for the work quoted. So ends our (first) handyman contract.
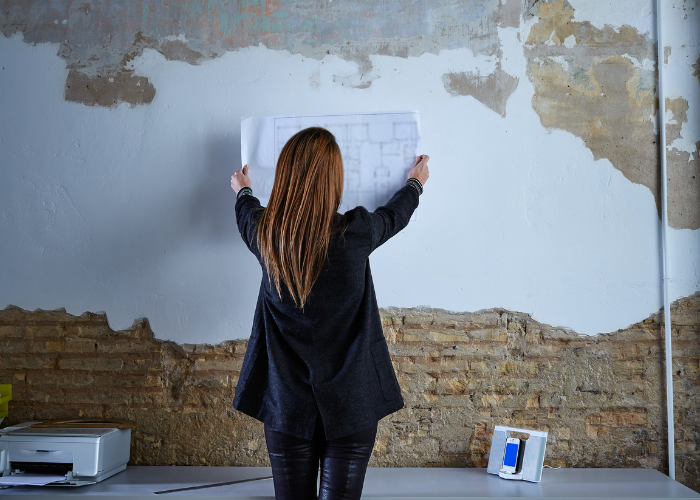
Thus begins our adventure into construction.
Demolition Days
Now that we decided to strap on our toolbelt, it was time to get this train rolling! An interesting original build choice was to use paneling nearly everywhere. The bathroom and kitchen are the worst offenders and our biggest projects, so we started there. Our task list was long and growing longer. Divide and conquer seemed the best course of action. As he tackled the bathroom paneling to prep for new drywall and plumbing updates, I took on the kitchen.
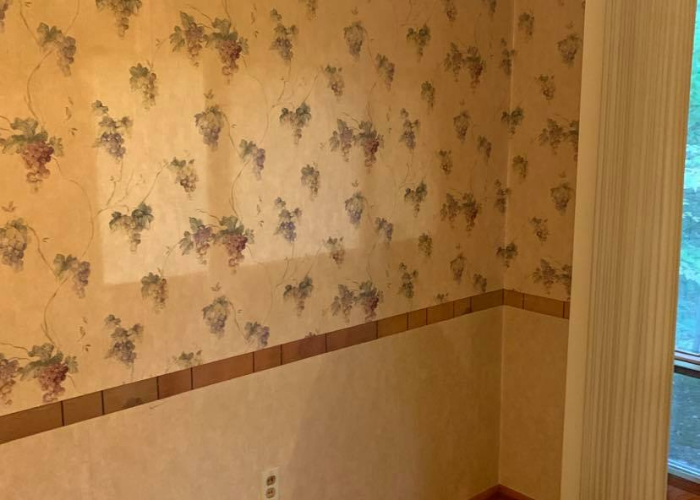
It's been nearly a month and I'm still not finished with my portion of the teardown.
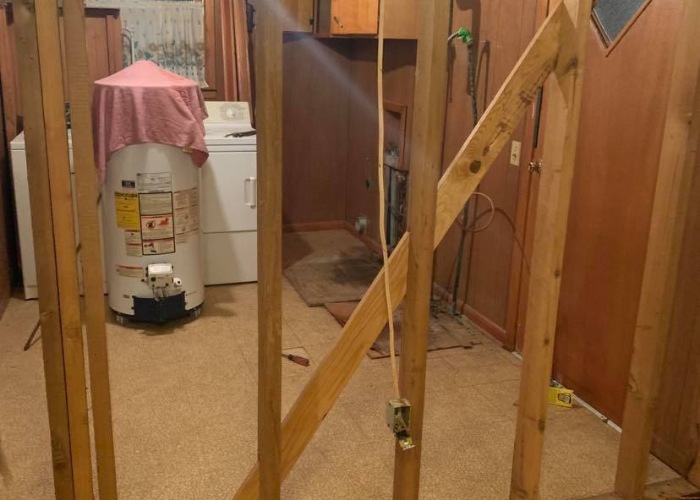
Our handyman managed to knock out the living room wall to create the open floor plan design we envisioned. And we pushed back the utility room wall to start the new half bath. In line with a sleek budget, we have graciously been allowed to borrow tools, pans, and equipment from a loving mix of friends and family. Even yet, we always seem to be shy of the one tool we need to make the project simple and quick.
It Never Ends
I have spent hours painstakingly removing trim and baseboards. A rotating schedule of who uses the step ladders stretched out the painted ceilings chore. Of course when painting, it is vital to tape off areas and lay down cloths to be sure paint only goes where wanted. My back aches at the mere thought. Several days of priming, drying, repriming, another dry, and finally painting, the ceilings are ready for the new light fixtures...that still haven't arrived in the mail. Next on the list, then!
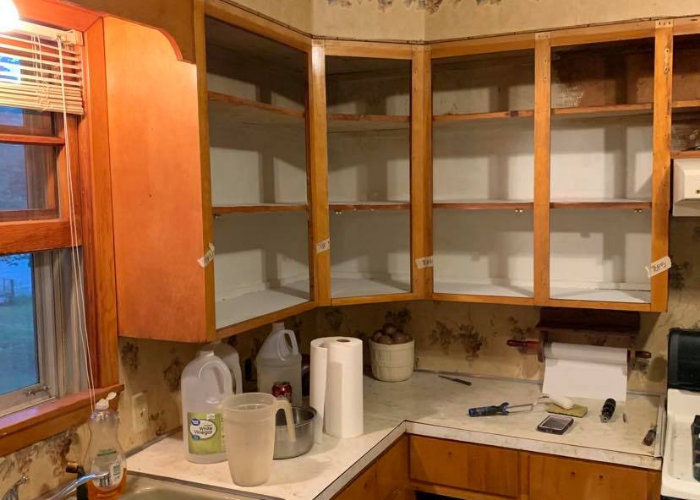
Twenty-six cabinet doors and nine drawers to sand down and stain. Handcrafted. Solid wood. Truly impressive cabinetry for a kitchen of this era, really. It was my partner's idea to match the cabinet stain and the wood trim and baseboards. All the trim needs to be sanded now, too. Only these aren't simple, flat pieces. No, this trim is ornate and, therefore, must be sanded by hand.
It has taken weeks of hand-sanding and fine polishing to prep the trim and cabinets for stain. I have ingested pounds of sawdust. I cannot stress enough the scale of this job. What I did for the trim wasn't right for the cabinet doors. What I did for the cabinet doors wasn't ideal for the drawers. After finally powering through all of these, it was time for the bases. For all the bragging I've done about the quality of the craftmanship elsewhere, the cabinet bases are the line. The finest wood veneer coats the exterior bases. A time-consuming chore of magnificent proportions lies ahead to remove the old stain now.
Evolving Projects
Despite our meticulously planned list of tasks, it has grown and evolved and shifted to fit the strange details we keep stumbling upon. Remember when I said the cabinets were built INTO the walls? That's right into the paneling. While we have removed it from the rest of the kitchen, there is a new problem of including a backsplash. Do we paint over the wallpaper and leave it be? Do we find thin tile and slap it up there? Cement board? Vinyl stickers? Honestly, it's a huge mystery at this point still. All of which needs must be completed before we can lay down the new tile flooring. Which comes after a (new) handyman installs the rear French doors! Do you see the repeating pattern here yet?
It's A Work In Progress
This is just the beginning! The trials and tribulations of remodeling an existing house to turn into our dream home is going to be an exhausting process. I refuse to say I regret buying a home instead of building a home. Though after falling into bed aching from working all night, I find myself wondering how much easier (physically and mentally) it would have been to let a professional design team custom draft floor plans the way we wanted in the beginning. How our choices could easily be paint colors and countertop grains with a serious construction team doing what they know best. Follow our remodel nightmare story about the bathroom next!